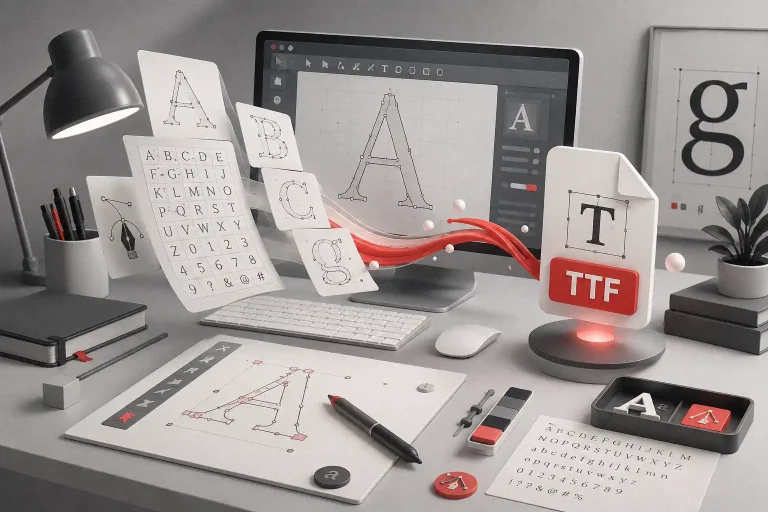
Canva is a powerful and user-friendly graphic design tool that allows you to create stunning designs with ease. One of the key features of Canva is its extensive library of fonts, which gives you the flexibility to add your own personal touch to your designs. In this article, we’ll walk you through how to install or use fonts on Canva it easy to follow along.
Installing a Font on Your Computer
Before you can use a font in Canva, you’ll need to install it on your computer. Here’s how to do it on Windows and Mac:
For Windows:
Step 1: Download the Font File The first step is to download the font file from a trusted website such as Google Fonts, Dafont or Font Squirrel, and save it to your computer. And make sure the license, for personal or commercial use
Step 2: Install the Font Right-click on the font file and select “Install” from the context menu. This will automatically install the font on your computer.
For Mac:
Step 1: Download the Font File Download the font file from a trusted website and save it to your computer.
Step 2: Open Font Book Double-click on the font file to open it in Font Book, which is the font management application on Mac.
Step 3: Install the Font Click the “Install Font” button to install the font on your computer.
Using Fonts in Canva
Now that you’ve installed the font on your computer, you can use it in Canva. Here’s how:
Step 1: Open Canva Log in to Canva and open a new design or an existing one.
Step 2: Select Text Tool Click on the “Text” tool in the left-hand toolbar. This will display a list of text options to choose from.
Step 3: Select Text Box Select the text box you want to edit or add a new one by clicking on the canvas.
Step 4: Choose Font Click on the font dropdown menu in the text editing toolbar at the top of the screen. Scroll down to the “System Fonts” section and select the font you want to use.
Step 5: Edit Text You can now edit the text in the selected text box and see the changes reflected in real-time.
Step 6: Apply Changes Once you’ve made the desired changes to the text, click on the “Apply” button in the top right corner of the screen to save the changes.
Conclusion
In conclusion, adding new fonts to Canva can enhance your designs and make them stand out. Installing a font is simple and easy, and with the right font choice, your designs can become even more unique and eye-catching. I hope this step-by-step guide on how to install or use fonts on Canva with pictures has been helpful to you. If you have any questions, please leave them in the comments below.